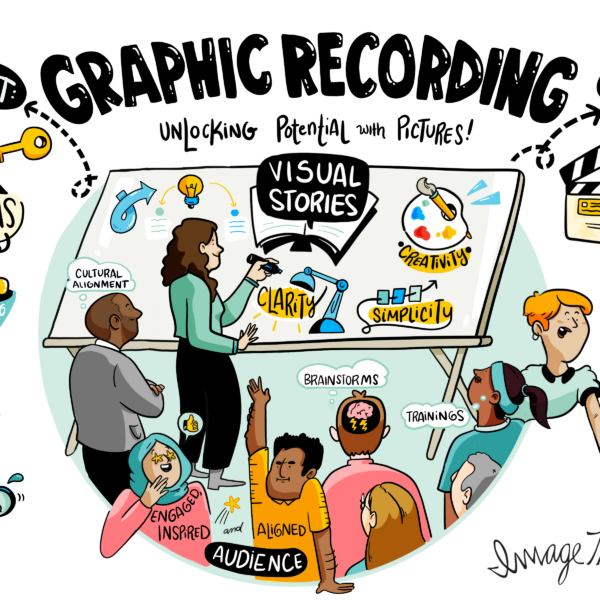
What is a Whiteboarding Session?
Whiteboarding, as we know it, has looked the same for decades: teams collaborating and brainstorming using markers on a dry-erase board, quickly adding and erasing ideas, grouping concepts with sticky notes, and mapping out strategy in a loose, no-fail environment. Many businesses hold regular whiteboarding sessions to encourage innovation, and clarify tactics. At ImageThink, whiteboarding has been one of many powerful visual tools we use to help unearth ideas, unlock potential, and unstick teams from cyclical, stale thinking. Whiteboards were invented in the 1960s, with dry-erase markers following in 1975. The tool wasn’t widely used in businesses until the 1990s.
How Do You Use a Whiteboard Effectively?
In the age of high-res displays, and no shortage of presentation apps and programs, it may be hard to imagine whiteboarding as a visually compelling way to collect and share information during your meetings and work sessions.
Perhaps you associate the whiteboarding medium with a dull, dry college lecture hall. Or you’ve seen it used in a way that means nothing – whoever’s writing isn’t necessarily thinking about how to present information in a simple, visually effective fashion.
But our graphic recording team at ImageThink believes that going low tech in today’s high-tech world can be the breath of fresh air needed in a collaborative environment such as a classroom or office.
Unlike a static slide, a whiteboard can adjust to the conversation of the room. It’s a fluid document that can shape indecision and dissent into consensus and inclusive decision making.
So, how can you accomplish these results with just a few markers? Here are some whiteboarding tips to turn a blank (whiteboard) slate into an effective tool for problem solving, decision making, and carving paths through complexity.
How to Use a Whiteboard Effectively?
1. Make Sure Your Whiteboard Markers Are Good to Go
This seems like a no-brainer, but make sure that your markers are fresh, full, and ready to be used for the length of your session. Dealing with dry, frayed markers during a work session is the analog equivalent of wasting time during a digital meeting working out tech issues. Save yourself the stress and keep tabs on your tools.
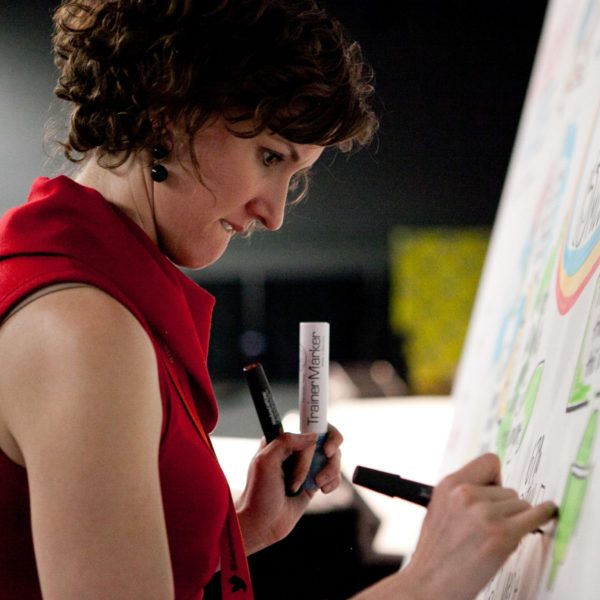
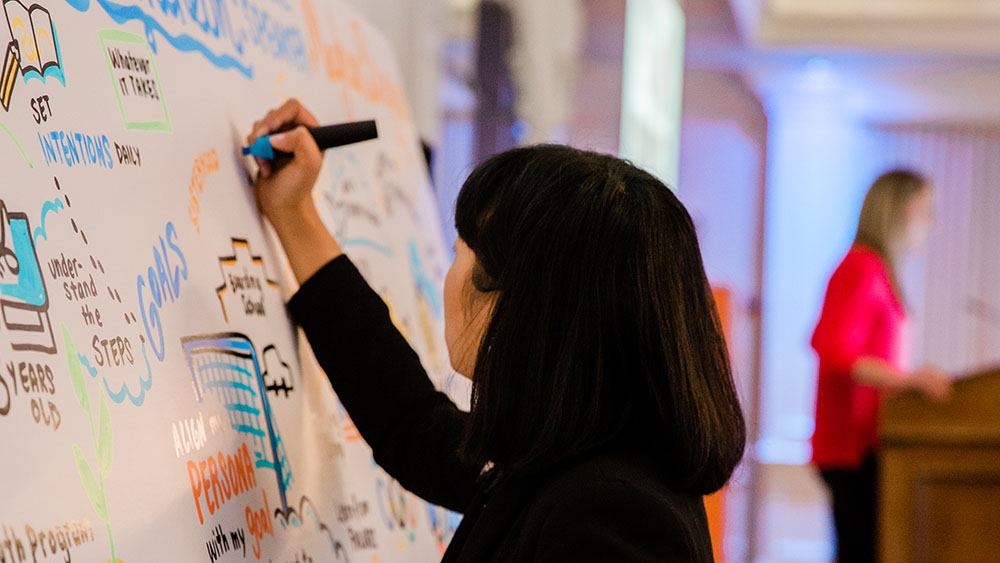
2. Use Color in Whiteboard Presentations Like You Mean It
One of the more entertaining aspects of using a whiteboard for productivity in meetings is that you’re given some creative license on how you depict the content of the room’s discussion. Instead of sticking to black text on a white surface, add some color for interest.
Things are looking a lot more interesting now. Maybe another color could help with the interest. Perhaps another…
Fast forward to the entire palette of your marker set being used, and you realize that you have a colorful, dynamic image- the problem is that no one knows how to follow it.
Think about a transit map that you are able to follow without having to ask for help. Or perhaps traffic signals. Or a brand that you could recognize without a type logo accompaniment. What these things have in common is that the designers behind these were very decisive about which colors to use, and were consistent about how to employ them.
In short, use colors in a consistent and methodical way in order to create a logical flow of information. This is an easy way to give your audience a smoother route between your work and their understanding. Our graphic recorders use colors as a visual key to mark out different threads of information. Pick 2-3 colors and stick to your plan – any more will be confusing and negate its intended impact.
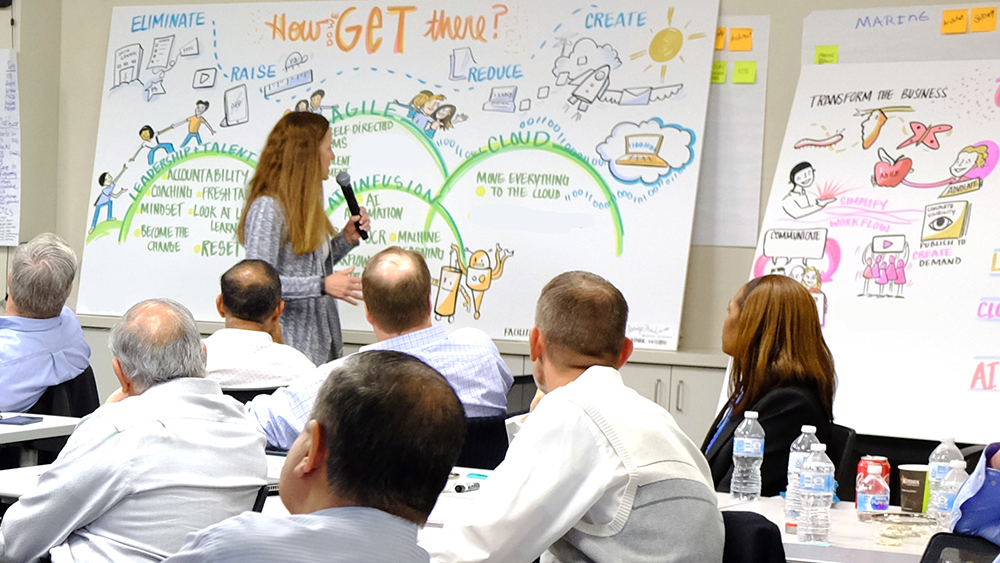
Whiteboarding for a large room requires a sense of scale when drawing.
3. Draw “Louder” for the People in the Back
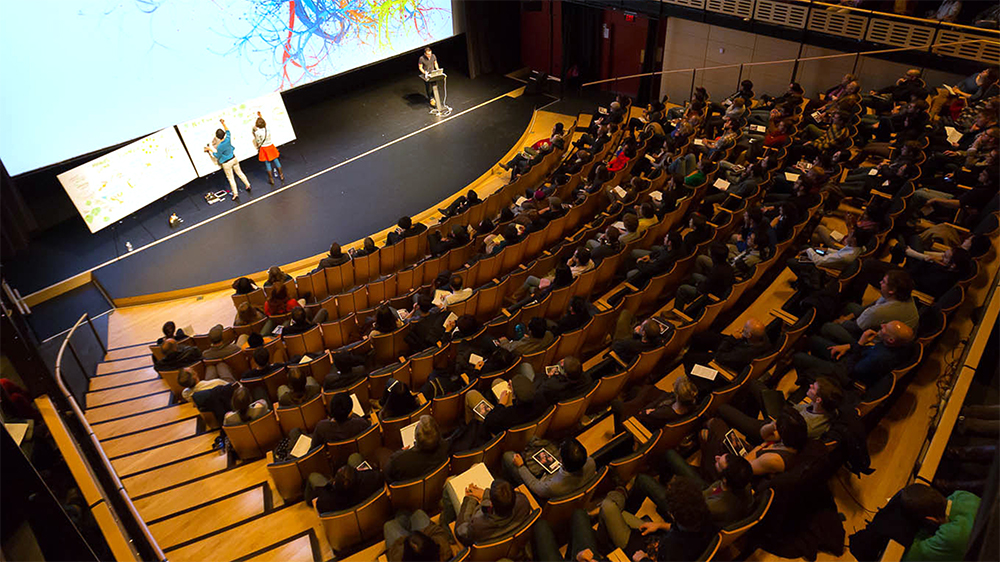
This is another whiteboarding technique you need to master. Imagine you’re at a talk from a best-selling author. The venue is a large theater space and the room is packed. The space takes on the air of a concert. You’re sitting in the balcony seat in the nosebleed section, but at least you’ll hear what this acclaimed writer is saying.
The room gets quiet. The panelist is makes the introduction, and the famed novelist is speaking… but without microphones. Everyone in the first five rows is managing, but everyone else is struggling to keep up. You can hear people next to you complaining, but the show is moving along as if everything is fine.
What’s happening is that the space wasn’t fully considered. When you’re writing and drawing for the room, make sure that your writing is legible to the person farthest from the whiteboard. Don’t be afraid to write and draw BIG and BOLD, so your notes are visible to everyone in the room.
Whiteboarding for a large room requires a sense of scale when drawing.
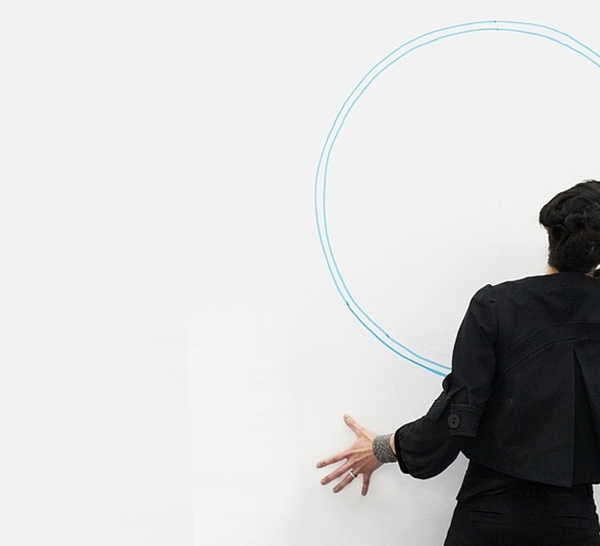
4. Working Large Means Making Large Moves
Use your whole body to draw this large. Physically move across the board to draw vertical and horizontal lines, using your arms and shoulders, not just your wrist.
When you’re working at a hand-sized scale, it makes sense to keep most of your body’s motion isolated to your hands and wrists. But when you’re expected to cover human-sized real estate in a relative short period of time, you have to expand your movement.
Not only will this increase the scale of your work, but you’ll condition yourself to use the entire board rather than focus on a small section of it, adding to the value of this effective whiteboarding technique. It will also help you avoid cramping or injury from overworking your wrist.
Our graphic recorders use their whole body when scribing, from the shoulder to
the wrist.
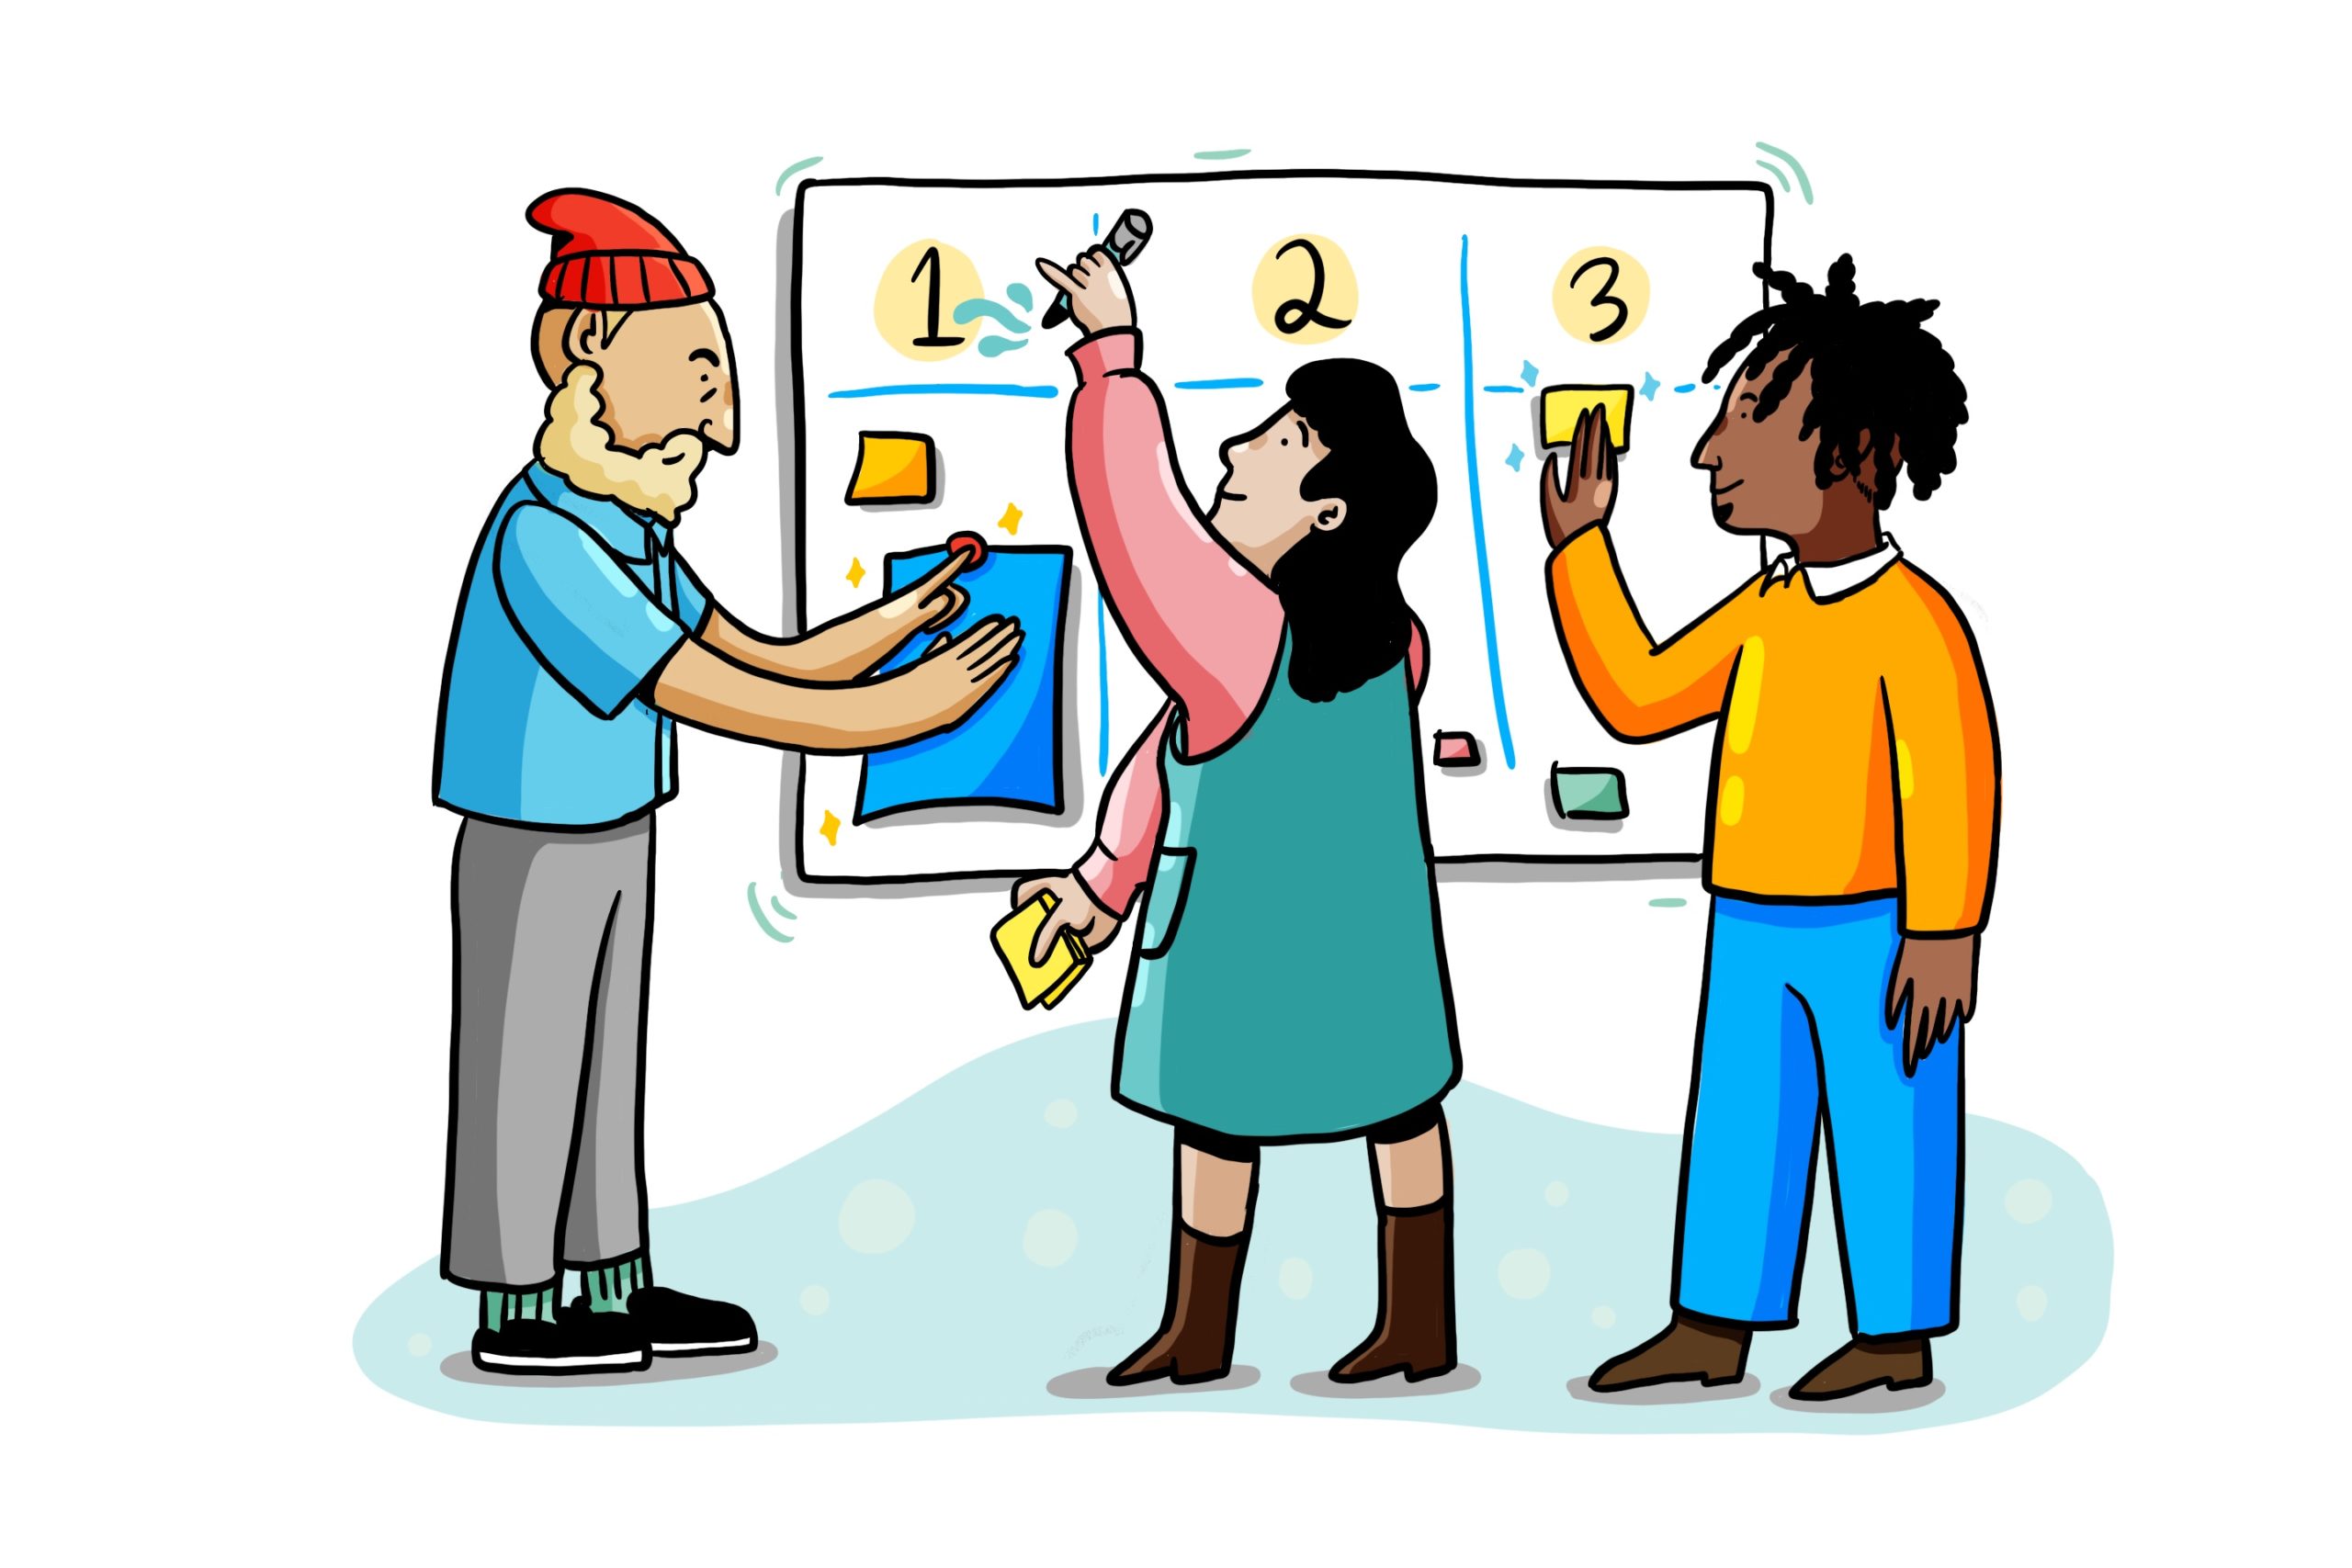
5. Organizing Information in your Whiteboarding Presentation: Write Headlines
Think of how a newspaper page is organized. Before you jump in to the minutiae of a particular topic, you’re greeted by a short, illuminating headline. It’s bold, large, and gives you the opportunity to know what you’re going to engage within a few seconds. Further down the line are sub headers summarizing sections of an article, before you get to specificities.
Think through how to organize your whiteboard with the same logic. Give your audience a point of entry, and guide them to the finer points- don’t lose them in a maze of homogenous information. Write big ideas large, and sub-points smaller, scaling your points to their hierarchy of importance.
6. Make Room for Action Items
How many times have you left a meeting feeling unsure about what’s happening as a result of your discussion, or unclear about who’s owning what and when things are due? This is what we want to eliminate by providing this whiteboarding 101 guide.
Avoid the issue simply by leaving room for action items and next steps on your whiteboard.
Address these action items and assign owners and deadlines to these tasks, so you’re sure to get them done. Visualizing commitments is a very effective way of solidifying them.
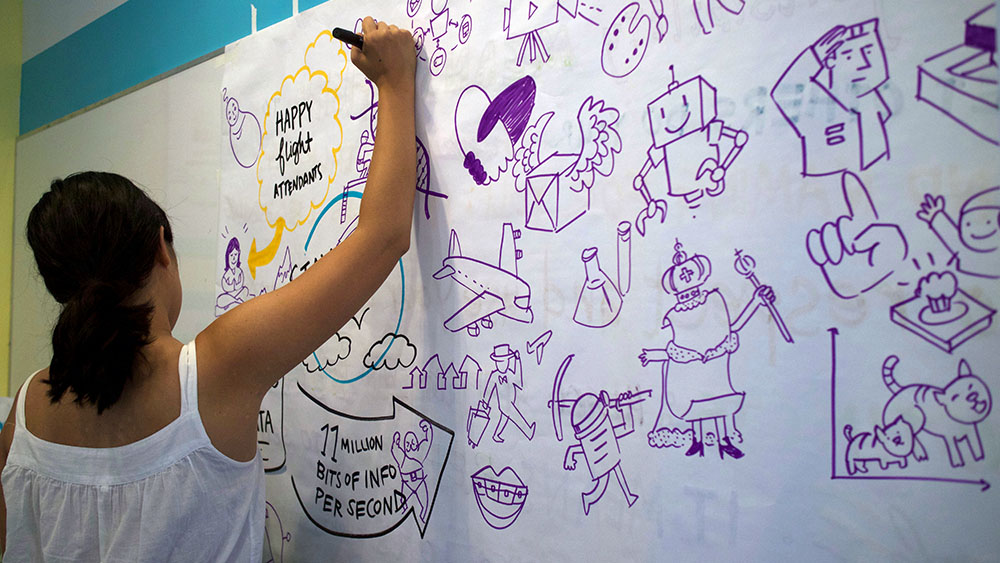
7. Get Inspired and Build Your Visual Vocabulary
In addition to creating visual shorthand for high level concepts, list items and supporting information, it’s also valuable to look at other ways that information is displayed visually.
Graphs, tables, charts, diagrams, and symbols are all fair game. Look at infographics used in reputable publications, textbooks, documentaries, and motion graphics shorts as sources of reference and inspiration. Continue to practice and implement these skills.
8. Pics Or It Didn’t REALLY Happen
Whiteboarding is a dynamic, collaborative way of collecting the perspectives from the stakeholders in your meeting, but you need to make sure you’ve captured all of the robust discussion reflected on the whiteboard.
The notes taken during a meeting are meant to serve as a tool to your organization, so you want to make sure that you have an efficient way of sharing them. You can’t distribute a single board or sheet of paper, so you need to distribute them digitally.
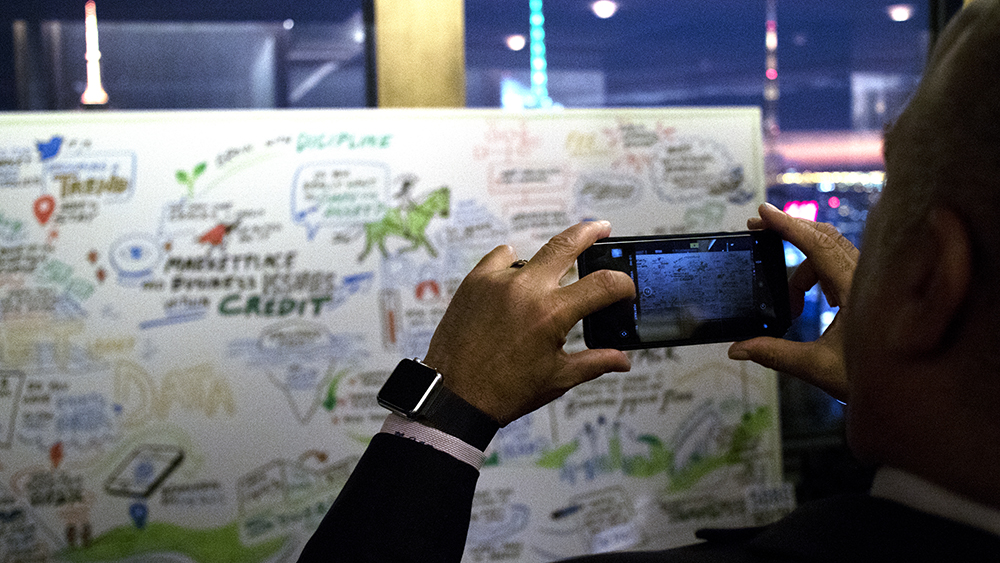
Taking pictures of the whiteboard at the end of the meeting ensures that great
insights live on long past the meeting itself.
Take photos of your notes as you go so you’re sure not to skip a beat. Edit it with an app like CamScan or Photoshop before distributing it for everyone to use as a valuable tool.
One way of delivering a usable, hi-resolution image is to take a photo (preferably with a professional grade camera) and edit it with an app like Photoshop before handing it off.
There are also apps for your smartphone that will take an image capture and translate it to either a single clean image or a PDF presentation of your meeting as documented in multiple charts.
9. Wrapping Up Whiteboarding 101
After applying some of these whiteboard session best practices, you should be able to reign in the discussions of the meeting room and chart a path to your organization’s goals and next steps.
Additionally, you can check out Draw Your Big Idea for some valuables ways to apply what you picked up from here.

ImageThink’s co-founder and CEO Nora Herting leads a graphic recording workshop.
Dive Deeper into Whiteboarding, With Customized Graphic Recording Workshops
Whether you’re a veteran whiteboarder, or never picked up a marker before, our graphic recording workshops give teams the tools they need to communicate visually. Drop us a line to learn more.